A Simple Guide for Creating a Prototype
This article is the fourth in a series on Understanding Design Thinking Method focusing on prototyping. The Design Thinking Method is an iterative process used by many of the most innovative companies and organizations.
It consists of 5 stages:
- Empathize
- Define
- Ideate
- Prototyping
- Test
It can be visualized like this:
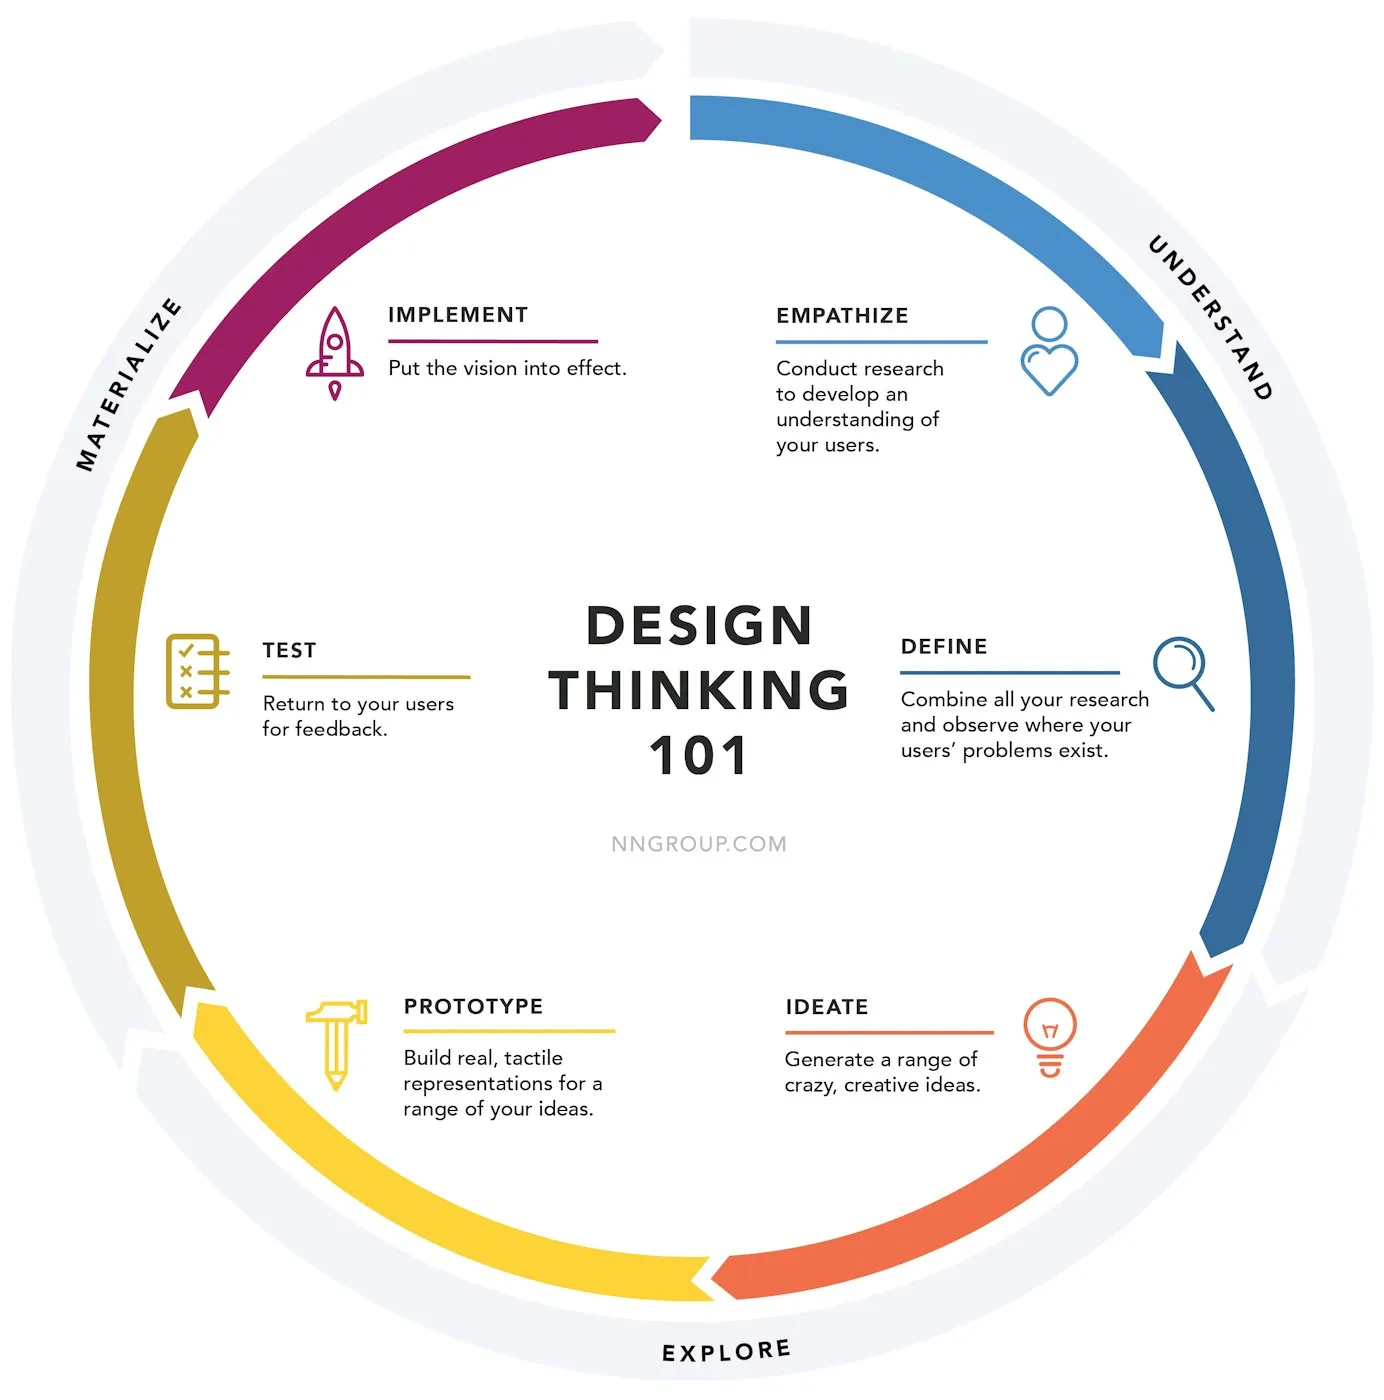
In this article, we dive into the fourth stage of the process: Prototyping.
Prototyping: Trial and Error
Good ideas are tempting to build and sell immediately; however, your chances of success will increase markedly if you test your idea before you start shipping it. To test it, you first need a basic prototype that users can interact with and get an actual idea of how your solution works and fits into their lives.
For that reason, prototypes are arguably one of the best methods for giving you insights into the feasibility of your product and the needs of your users. With the help of the prototype, you can let actual people play around with an actual product. You can see where they are struggling with it and hear their thoughts and ideas about it. With those insights, you can refine your initial design to fit the needs of your target group perfectly. The goal is to fail quickly and cheaply, so you won’t fail hard and expensively after the product launch.
Usability is a keyword when it comes to prototyping and is fundamental when it comes to the success rate of your product. A cool solution with a shitty design is going to fail. If users don’t know how to use it, they won’t be users for long. They will go to your competitor and never look back. You want to avoid that, so you need to prototype!
So, what does the process of prototyping look like? It’s a two-step process: one round of quick-and-dirty lo-fi prototypes and the second round of immerse and thorough hi-fi prototypes.
- Lo-fi prototypes help you test the basic ideas and features you have in mind. They allow you to break your idea into smaller chunks that can be tested in a focused way.
- Hi-fi prototypes help you test out your full idea and nail down details. They allow you to understand thoroughly how your target group feels, thinks about, and uses your product.
This might seem like a long and complicated process, but you will save so much time and money in the end if you include this stage in your design process.
When you’re prototyping, keep the following tips in mind:
- Take action: Start building and see what happens. The whole purpose of prototyping is to determine what makes the most sense. You don’t have to know anything in advance. Learn by doing!
- Act quickly: Don’t spend too much time and effort on your prototypes. You want to fail fast and also not get too emotionally attached to an idea. You can always go more into depth once you’ve tested a few ideas.
- Prototype purposefully: When you prototype, prototype with a certain goal in mind. Your designing and testing should have an aim. You should test something specific.
Low Fidelity Prototyping
Low-fidelity prototypes are your first prototypes. They can be as simple as quick sketches using pen and paper, and they don’t need to include all the features and functions nor have any pretty design. These prototypes are meant to test out your basic idea and the necessity of features.
You can create different kinds of prototypes, depending on what you’re building and what you need to test. One of the greatest benefits of lo-fi prototypes is how easily, quickly, and cheaply they can be adapted to improve them.
Here are a few ways to prototype:
- User flow: creating a user journey is crucial in designing your prototypes. How would the journey of your user’s interaction with your product look? If it’s an app, this could be an example of a journey: A user logs in, goes to a dashboard, finds the feature they need, does what they need, and logs out again. Write the steps down so you know what to design.
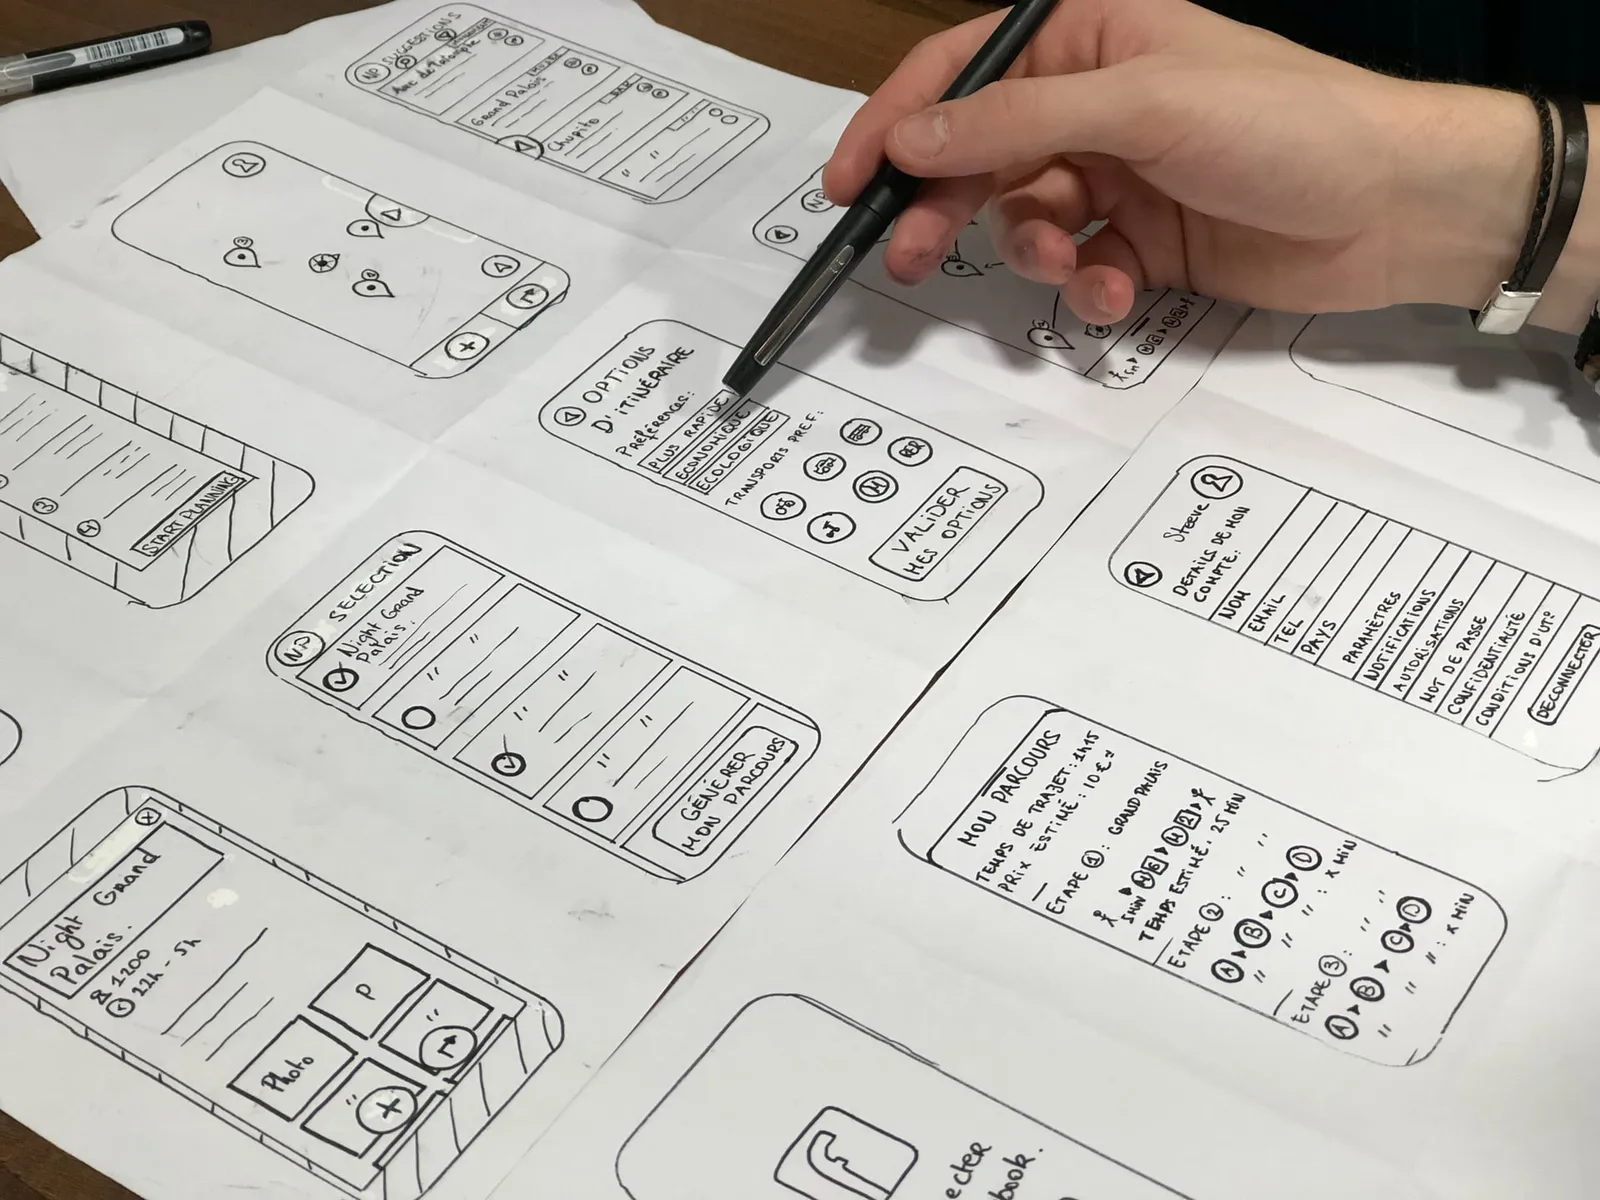
- Paper prototypes: thinking only of the most basic forms and features of your product, make a paper version of it that visualizes the basics of your idea. You don’t need to design much or make it pretty. Focus instead of the functionality. Even if you’re building a digital product, such as an app or a website, you should still paper prototype it. You can search for examples online to understand how such a prototype could look.
The benefits of lo-fi prototypes are manifold! For example, users must focus on functionality as paper prototypes lack a pretty UI. They also have an easier time giving honest feedback as lo-fi prototypes look unpolished and low-effort. And in addition, lo-fi prototypes are cheap and quick to make. Here is a short video on how to build a lo-fi prototype:
https://www.youtube.com/watch?v=NcQJjbFxTos
High Fidelity Prototyping
Having conceptualized and tested your solution with the help of low-fidelity prototyping, it’s now time to level up your game and get high fidelity in your thinking.
Hi-fi prototypes come as close to your product as possible without actually being the end product. They try to feel and work like the real deal without too much money being invested in them. So, for example, if you’re building an app, your hi-fi prototype would be a model of your app built in Figma or Sketch (or the like) where buttons work, transitions are in place, and the model feels like a real app, even though no code has been written.
If you are ready to try some prototyping, check out this course on Figma UI UX Design Essentials. Even if you’re not totally sure what UX really means, don’t worry. The course guides you through your first design steps so you can create your hi-fi prototype at the speed of light.
The benefits of hi-fi prototyping are:
👉 it is easier for users to engage with them
👉 the design might make users excited about your solution
👉 you can get feedback on both the UX and the UI
Once you (and your users) are happy with your fidelity prototyping, you can build your product for real. But before that, you need to ensure your users are happy.
To learn more about Design Thinking, read more about the other parts of the process here:
- Understanding Design Thinking Part 1: The User Is King
- Understanding Design Thinking Part 2: Define Your Why
- Understanding Design Thinking Part 3: Creative Ideation Methods
- A Simple Guide to Creating a Prototype (currently reading)
- Understanding Design Thinking Part 5: User Testing and Improvement